
You open a project folder and face forty identical blue folders. You know the client brief is in there, but you end up reading every name twice and still clicking the wrong one. That's the moment you decide to customize Finder folders, not for decoration, but so the right folder catches your eye before you read a word. Done well, that visual cue saves seconds every day. Done randomly, it just adds noise.
Three Ways to Customize a Finder Folder Compared
Your real choice depends on scale. Do you need five landmark folders to stand out, or hundreds that need a consistent system? The method that works for one will frustrate you at the other.
Apple already treats folders as the primary way to group related files, while tags add a second layer that can span locations, and a single item can carry multiple tags you can find from the sidebar or by keyword, as explained in Apple's guidance on tagging files and folders. Smart Folders fit that same model. They collect files matching rules like type, date or tag without moving anything, so they're a retrieval tool, not a styling tool.
| Method | Icon or Color Options | Bulk Editing | Reverting |
|---|---|---|---|
| Get Info custom image | Any PNG or JPEG pasted as the folder icon | One folder at a time | Select the icon in Get Info and press Delete |
| Finder tags | Colored dots and searchable labels, not a folder icon | Select many folders and tag them together | Remove the tag in Finder |
| Smart Folders | Not an icon, collects matching files by rules | Not applicable | Delete the smart folder without touching files |
| Tintd | Icon library of more than 11,000 icons and emojis, custom colors and palettes | Batch editing across folders and subfolders | One-click restore to the default macOS icon |
I would use Get Info for a handful of folders you open daily, because it's free and needs no software. Use tags when the job is grouping across locations, since the folder picture itself won't help you search. Once you're past roughly 20 folders, repeating the paste routine stops being sensible and a batch tool earns its place.
Start with one Get Info change today. If you like the effect but dread repeating it, you've found your answer. Our broader roundup of practical Mac Finder tips covers the surrounding habits that make any of these methods stick.
Which Folder Cues Help You Find Things Later
Appearance and retrieval are separate jobs, and confusing them is where most systems break down. A folder can look distinctive and still be hard to find again.
Apple keeps those jobs apart. Folder customization changes how something looks, while tags support sidebar access, sorting and cross-location retrieval, a distinction set out in Apple's guide to customizing files and folders. That split matters because you don't always browse the same way. Sometimes you scan icons, sometimes you search, sometimes a colleague opens the same folder on another Mac.
| Context | Does the Icon Help | Do Tags Help | Practical Rule |
|---|---|---|---|
| Icon view | Yes, the custom icon stands out | Tag dots show beside the name | Use icons for landmark folders |
| List view | Weakly, the icon is a small thumbnail | Tags show as dots or text | Rely on clear folder names |
| Column view | Limited, the icon is small | Tags show in the sidebar and column labels | Keep naming consistent |
| Spotlight search | No effect on search results | Yes, tags are searchable | Add tags for anything you search for |
| Sidebar tag browsing | No | Yes, groups items across locations | Use tags for cross-location grouping |
| Shared or iCloud folders | No, icons are stored on each Mac | Yes, tags travel with the item | Use tags for anything collaborators must find |
A custom icon is a browsing cue. It's strongest in Icon view and weakest everywhere else, and it does nothing for Spotlight. A tag is a retrieval cue. It won't make a folder pretty, but it can classify one item under several categories at once.
More decoration doesn't automatically mean better organization. If colors, symbols and names are assigned ad hoc, recognition improves for a week and consistency collapses after that. Pick a small set of icon families and a matching tag vocabulary, so the two reinforce each other instead of forming competing taxonomies. Our notes on building a digital file organization system go deeper on keeping that vocabulary small.
How to Change a Folder Icon With Your Own Image
The native method is simple, but two details decide whether the result looks sharp or amateur. Get the source image right first, then paste it in the right place.
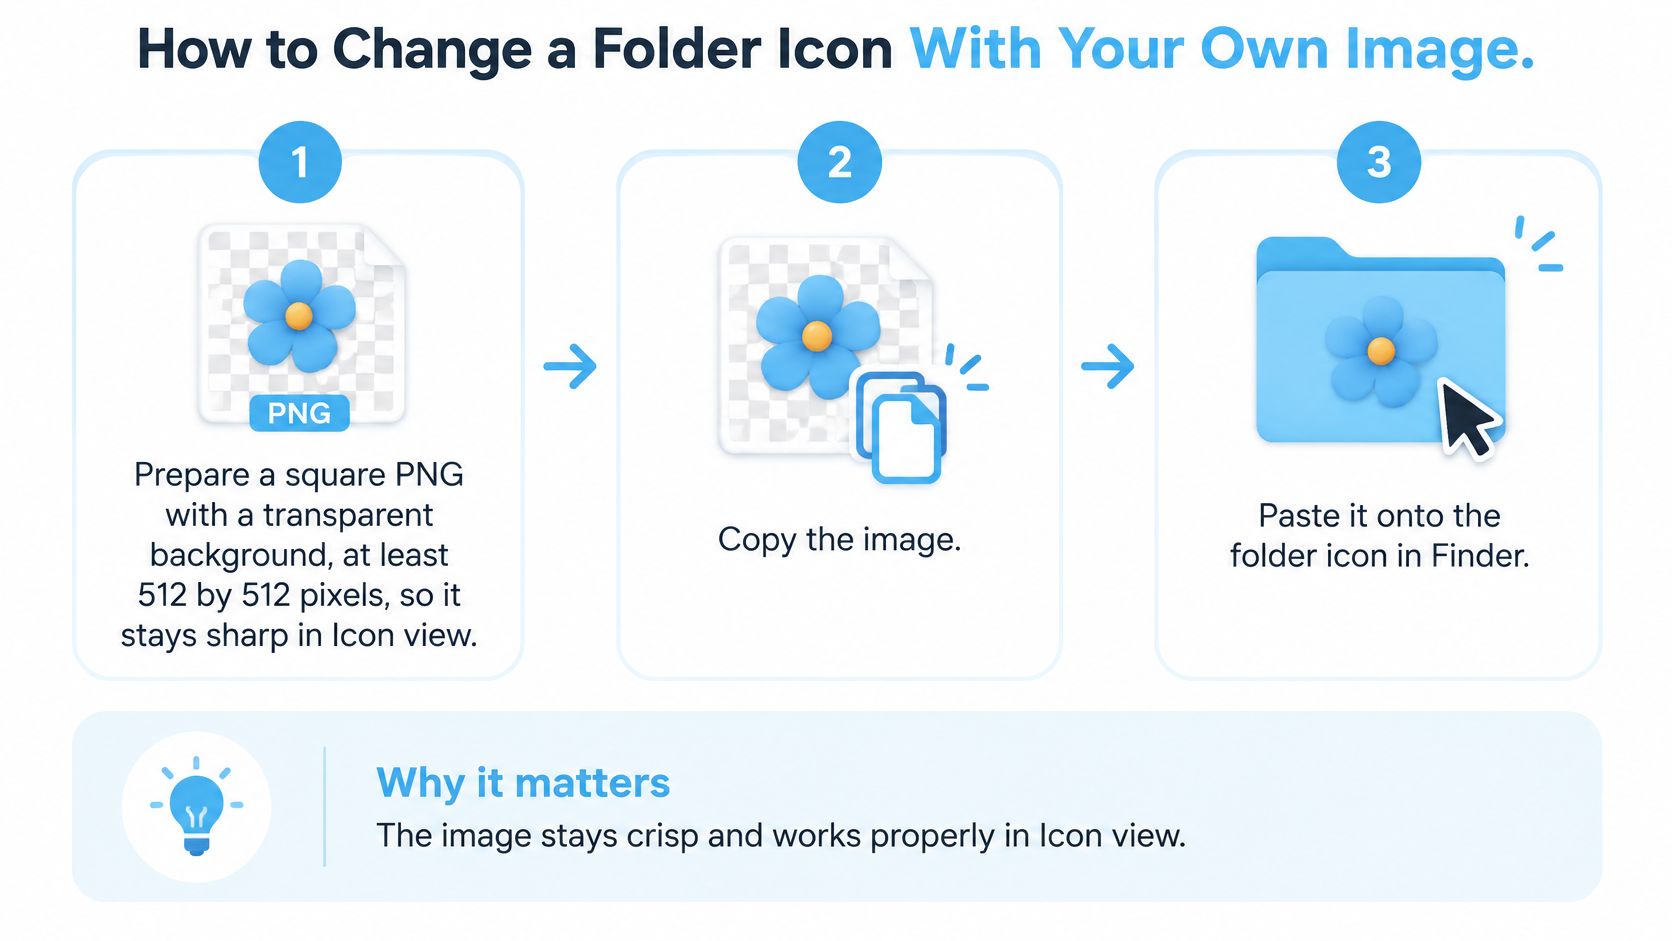
Prepare and Copy the Image
- Prepare a square PNG: Use a transparent background at at least 512 by 512 pixels, so it stays crisp in Icon view and scales down cleanly. A solid square image looks like a sticker pasted over the folder, while transparency lets the artwork sit on the folder shape.
- Open and copy it: Open the image in Preview, press Command-A to select, then Command-C. You're copying the picture data itself, which is what Finder needs.
The most common slip is copying the image file in Finder instead of the image content. That puts a file reference on the clipboard, and the paste either fails or gives you a generic document icon.
Paste It in Get Info
- Select the target folder: Click it once in Finder and press Command-I to open Get Info. This panel is where macOS stores that folder's custom icon.
- Select the small icon: Click the tiny folder icon in the top-left corner of the Get Info window until a highlight ring appears around it. Without that highlight, your paste has nowhere to go.
- Paste with Command-V: The thumbnail changes immediately if it worked. Close the window and the folder in Finder should already show the new artwork.
Check It in Two Views
- Check Icon view first: Press Command-1. The image should be sharp at large sizes, which confirms your resolution was high enough.
- Then check List view: Press Command-2. The icon shrinks to a small thumbnail, so bold shapes survive and fine detail disappears. If you can't tell folders apart at that size, simplify the artwork.
A finished result should be readable at thumbnail size, not just impressive when it's large.
To confirm it's saved, close and reopen the parent folder. If the artwork is still there, it's stored with that folder on this Mac. Reopening Get Info and seeing your image in the top-left corner is the second confirmation.
How to Recolor and Batch Edit Many Folders at Once
Color only helps if it means something. Before you touch a single icon, decide what each color stands for, or you'll create a rainbow you have to decode every time.
Group Before You Style
- Sort folders into categories first: Typical groups are Clients, Archive and Active Projects. Write the groups down, because that list becomes your color legend.
- Pick three to five colors: Give each group one color family and stop there. More than five and you'll start forgetting what the sixth one meant.
- Prepare one icon per group: Keep size and illustration style consistent across groups. Mixed styles make equally important folders look unrelated.
I would also keep saturation similar across the set. One neon folder among muted ones will draw your eye whether it deserves to or not.
Test One, Then Work in Batches
- Style a single folder first: Check it in Icon, List and Column views before repeating it. Catching a weak contrast choice on one folder costs seconds, catching it on sixty costs an afternoon.
- Work in batches of 10 to 15: That size keeps a mistake contained and lets you stop for a visual check. It also makes it obvious when you drift from the palette.
Get Info handles one folder at a time, so bulk work natively means repeating the paste. A batch-capable app removes that repetition by applying one icon or color across many folders in a single action. With Tintd, colorizing folders manually doesn't require Full Disk Access, since that permission is only needed for the automatic watcher, so manual batch work stays low friction.
Finish by opening the parent folder and scanning without reading names. Each group should read at a glance. Fix outliers now, while you still remember the rule, rather than letting exceptions accumulate.
Keeping Folder Names Private and Restoring Defaults
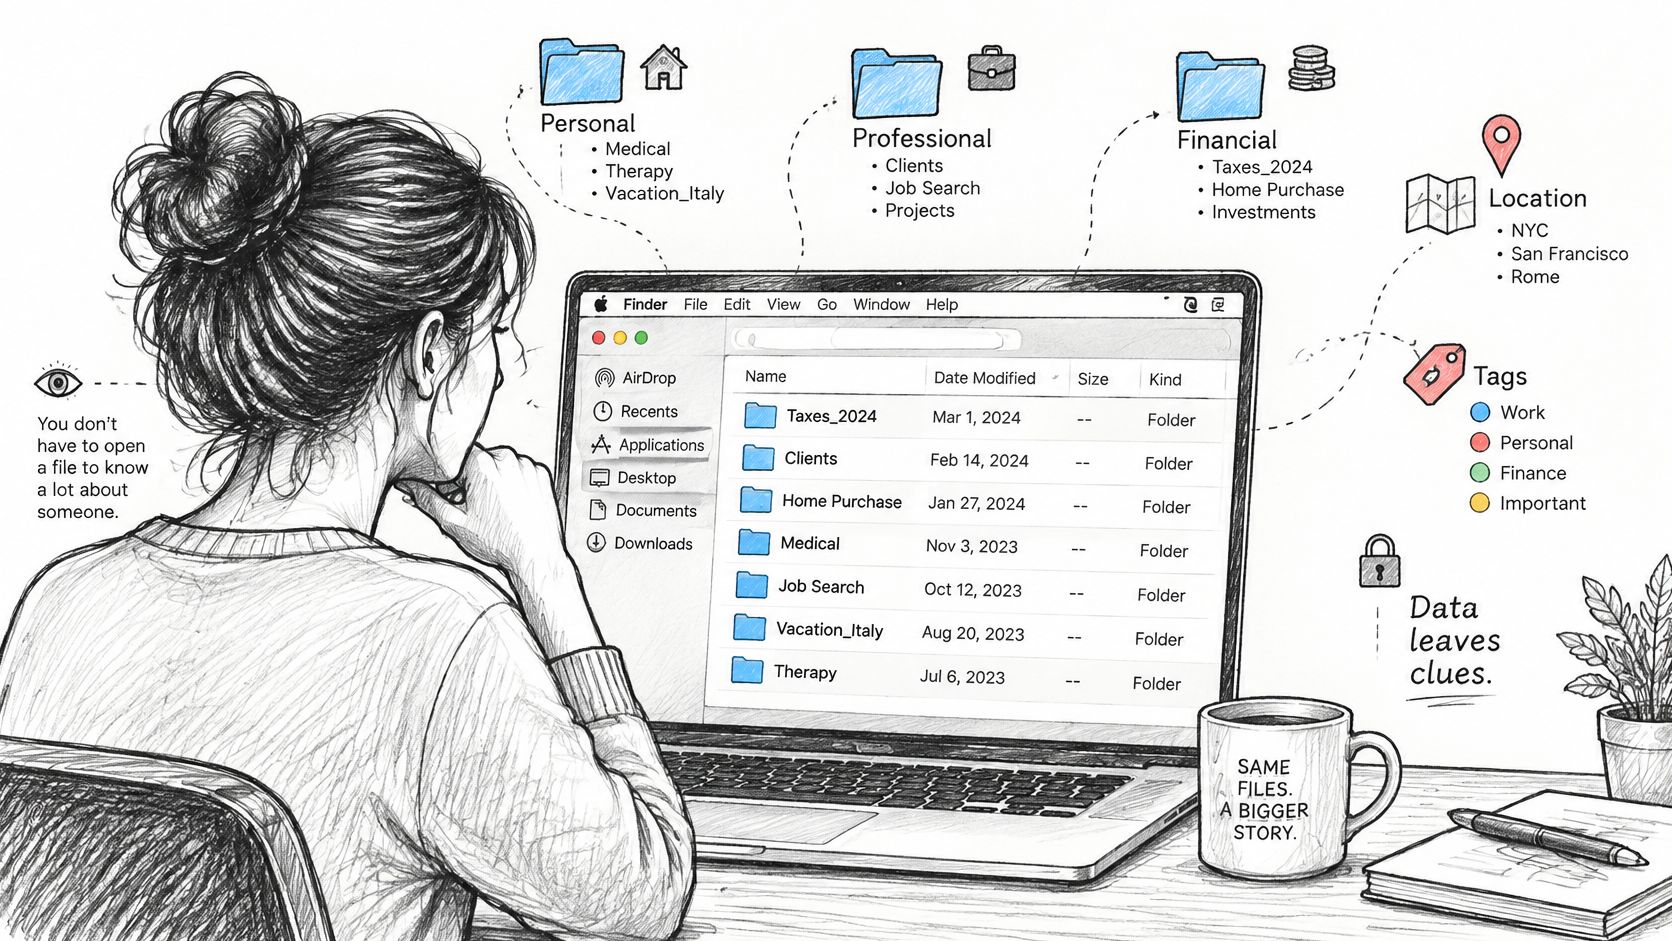
A folder named “Tax Appeal 2025” or “Redundancy Letters” can reveal sensitive information before anyone opens a file. Its name and location may expose personal, professional, or financial details, so consider what your folder organization reveals as well as what the files contain.
macOS manages file and folder access through Privacy & Security settings. Tags work across Mac storage and iCloud, while Smart Folders can surface files by tag or recent activity, as Apple's guide to organizing files in Finder explains. Tintd's icon and color suggestions run locally on your Mac: folder names stay on the device, and Tintd does not call any AI service.
Restore the Default Icon
- Select the folder: Press Command-I to open Get Info.
- Select the icon: Click the small icon at the top left and wait for the highlight ring.
- Restore the default: Press Delete. The custom image disappears, and the standard macOS folder icon returns. The files inside remain untouched.
Repeat these steps for each folder, or select a group and restore the icons one at a time. Before a redesign, try restoring one folder first so you know the result before changing the rest.
Automating Styles for New Folders Without Losing Control
You drop a new folder named "Q3 invoices" into a watched Documents folder, and it already carries a color and an overlay. That helps only if the cue still identifies the folder in Icon view, in List view, and on a shared drive. A fresh color on every new folder is noise, not a retrieval system.
I treat the watch as three scopes, not one switch. On personal folders, a broad rule is reasonable: only you use those landmarks, and a bad match is cheap to undo. On cloud-synced or shared folders, limit the watch to a few named parents. Other people use those colors to find things, and a surprise restyle breaks the map. Leave photo libraries and the insides of code projects alone. Those apps expect their own layout, and a styled icon there will not surface the folder in Spotlight.
Set the boundaries before you widen anything. Tintd's Folder Watcher detects each new folder in the locations you choose and gives it a matching color and icon from its name. It requires Full Disk Access, which macOS asks you to grant the first time you enable it. Colorizing folders by hand does not need that permission, so everyday recolors can stay outside the watcher. You can turn Folder Watcher off at any time in System Settings. One click returns any customized folder to the original macOS Finder icon, and history lets you reuse a style you already like instead of minting another one.
Create one new subfolder and look at the result. If you would not accept that color and icon a hundred times, do not add more locations. For the wider set of scripts and utilities you might pair with a watcher, start with macOS automation tools and decide how much of Finder you want on autopilot.
Fixing a Custom Icon That Will Not Stick
When an icon won't appear or keeps reverting, work through these checks in order rather than trying random fixes.
- Confirm you copied the image, not the file: Open the PNG, copy its contents with Command-C, select the Get Info thumbnail, then paste. Copying the file in Finder is the usual cause of a blank result.
- Re-paste from a better source: If the thumbnail stays blank or shows the default, use a square transparent PNG of at least 512 by 512 pixels and paste again.
- Relaunch Finder: Hold Option, right-click the Finder icon in the Dock, and choose Relaunch. Finder sometimes keeps showing a cached icon after the updated one changed.
- Re-apply after moving storage: Folders moved to non-Apple storage or some shared drives can lose custom icons, so re-apply after a transfer and check in Icon view.
- Accept the sync limit: Custom icons don't sync to other Macs, so anything collaborators must find should rely on tags.
Pick One Folder Scheme and Apply It This Week
Start with one area, not your whole Mac. A single client folder or one project tree is enough to prove a scheme works before you commit to it everywhere.
The screenshot below shows how a restrained set of icons looks once it's applied consistently.
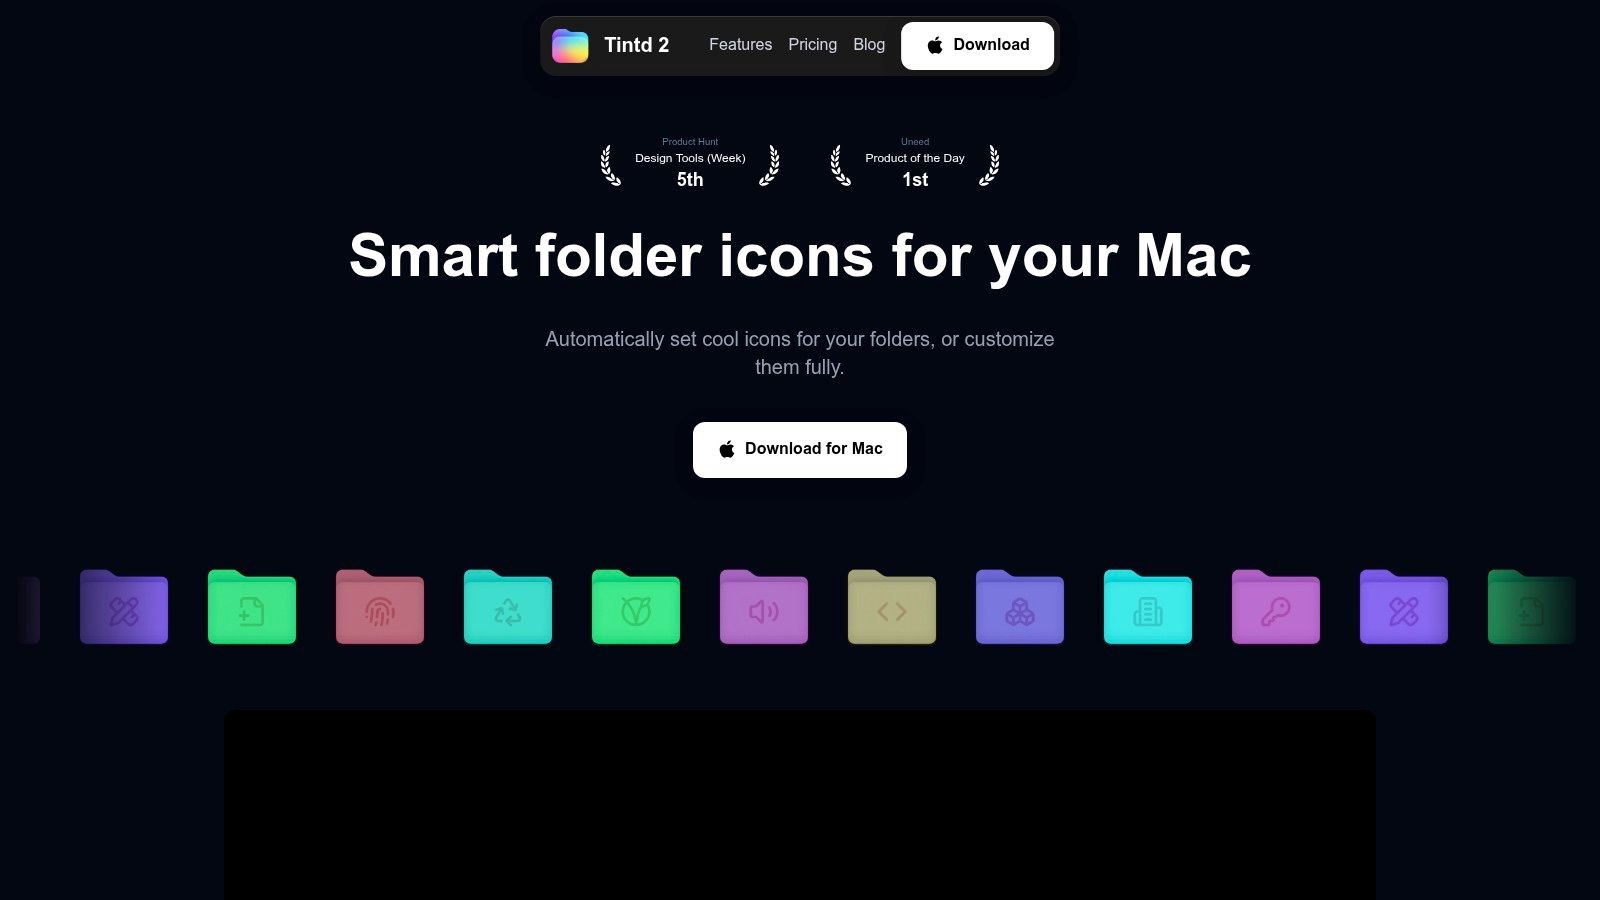
Follow this sequence. Choose three icon families that match your folder types, add tags for anything you search for, then test the result in Icon, List and Column views. Only widen the scope once that first area reads clearly without you thinking about it. If you want broader context on structuring the underlying hierarchy, these file management tips for knowledge workers from Zemith pair well with the visual layer.
When you're ready to scale up, Tintd can be opened from Finder's right-click menu to set any folder's icon, any customized folder can be reverted to the original macOS icon with one click, and you can import your own custom images. It's available to download on the Mac App Store, and the native Get Info fallback remains there if you ever stop using it.
This short walkthrough shows the scheme being applied to a real folder tree.
Write your icon and tag rule down once, in a note you'll reopen. Then apply it the same way to every new folder. That single habit matters more than which icons you picked.
If you're ready to customize Finder folders without pasting images one at a time, Tintd gives you a large icon and emoji library, batch editing and one-click restore, all processed on your own Mac. Pick one project folder, apply your first three icon families, and see how much faster it scans.